← All articles · Tutorial · about 5 min read
No software to install, your photos never leave your PC: a step-by-step guide to the tool80.com online AI background remover
I'm the operator of tool80.com. I'll keep this straight to the point — think of it as me sitting next to you, walking you through, step by step, how to cut the background out of a photo and drop in a new one. No software to install, no sign-up needed, and — this is the part I most want to stress — your photo never actually leaves your computer.
First, how to open it. The address is https://tool80.com/tools/remove-background, and the tool on that page is called "Free Online Background Remover". The page itself states: no install, no upload, no watermark. The first time I saw the words "no upload" I paused for a second, because most so-called free background removers work by having you upload the image, waiting for a server to process it, then downloading it back. This tool does the opposite — the AI segmentation model runs right inside your browser; close the tab and the photo is gone, with no account, no queue, no watermark. Its own wording is "the image never leaves the device". That's not marketing fluff; it's the premise the whole architecture is built on.
Step 1: Drop in your image
Open the page and you'll see a large dashed box that reads "Click or drop an image here" — click it, or just drag an image straight in.
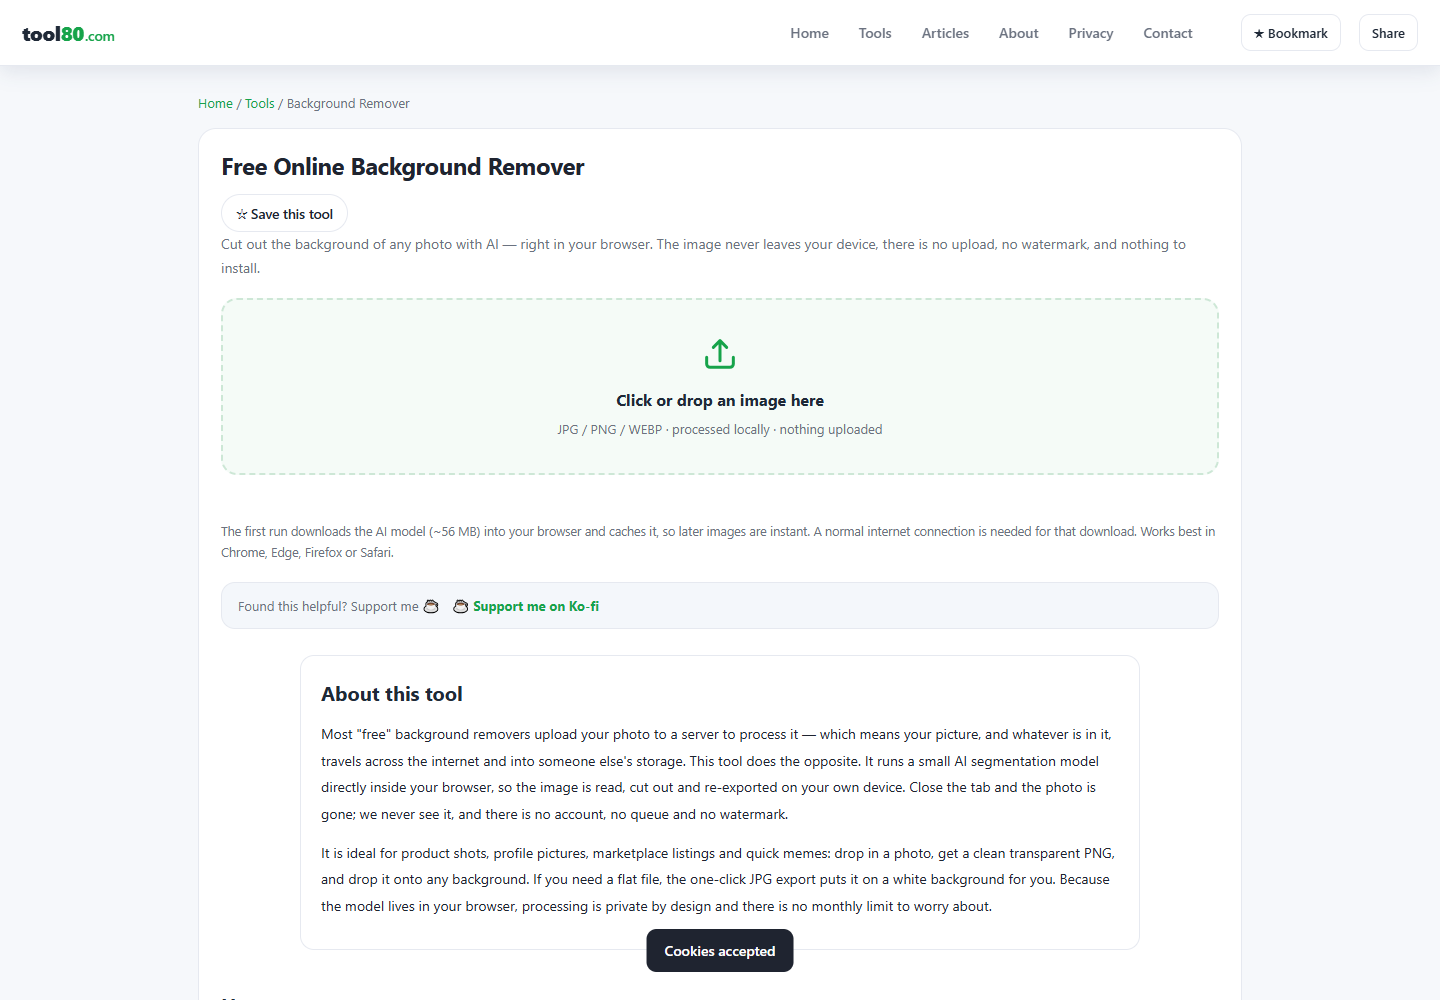
The upload area accepts JPG / PNG / WEBP, with a note beside it saying "processed locally, not uploaded".
One thing to set your expectations: the first use takes a little while. That's because the browser has to download the AI model first — about 56 MB — and then cache it. That 56 MB is fetched only once; after that, processing is basically instant. So don't think it's frozen on the first try — it's just pulling the model down. You need a normal network connection, and I'd suggest Chrome, Edge, Firefox, or Safari.
I tested it myself once on Windows 10 with Chrome. I uploaded a 900×700 photo of a black dog, and once the model finished downloading, the cutout completed right in the browser. Honestly I stared at the dog's fur edges for a while — they were intact, not smeared. The result area shows the transparent background as a gray-and-white checkerboard, which is the standard way image software indicates "this is transparent".
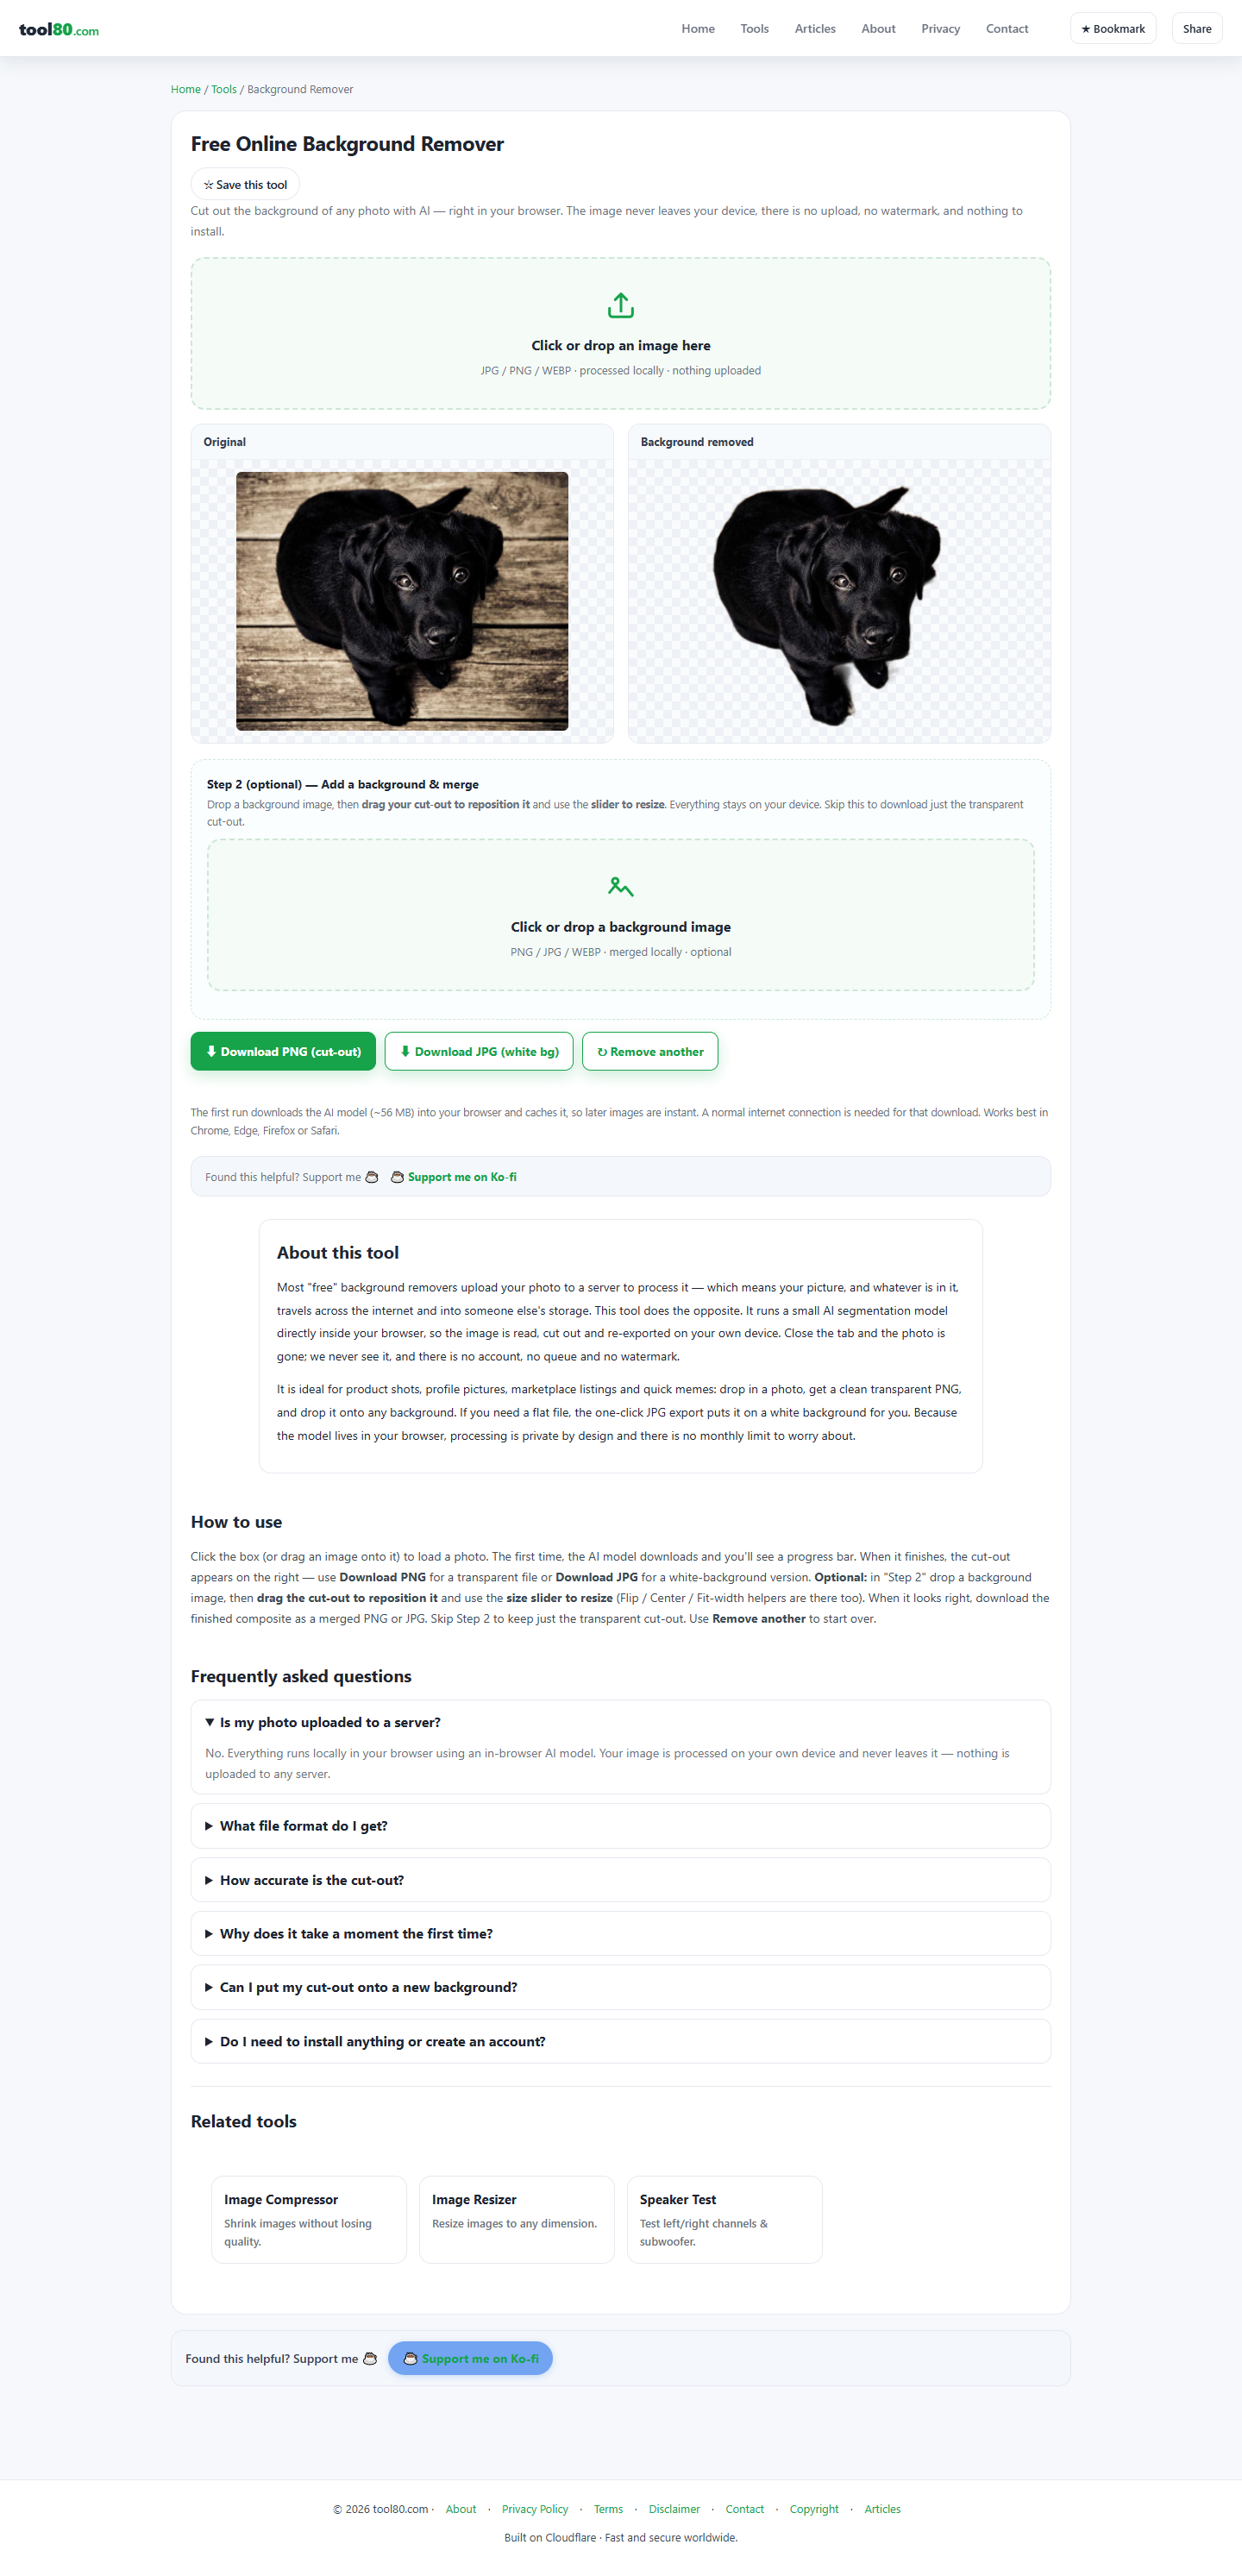
Under the hood it uses the ISNet semantic segmentation model, and the official FAQ says it handles hair, animal fur, and soft edges fairly well. My testing matches that claim. But don't treat it as all-powerful: for very cluttered backgrounds, or low-contrast photos where the subject and background are too close in color, you may still need some manual touch-up. That's not buck-passing — it's a known limitation of this type of model.
Step 2: Download, or go on to swap in a background
Once the cutout is done, you have two choices.
If you just want the transparent image, click "Download PNG (cut out)" to get a transparent-background PNG; for a flat white-background file, click "Download JPG (white bg)". The text on these two buttons is exactly what I noted during testing — unchanged.
But the really fun part is Step 2, which is optional: drag in any background image and the cut-out subject is layered on top of it. You can drag it directly to reposition, and use a slider to resize. There are also three helper buttons: Flip, Center, and Fit-width.
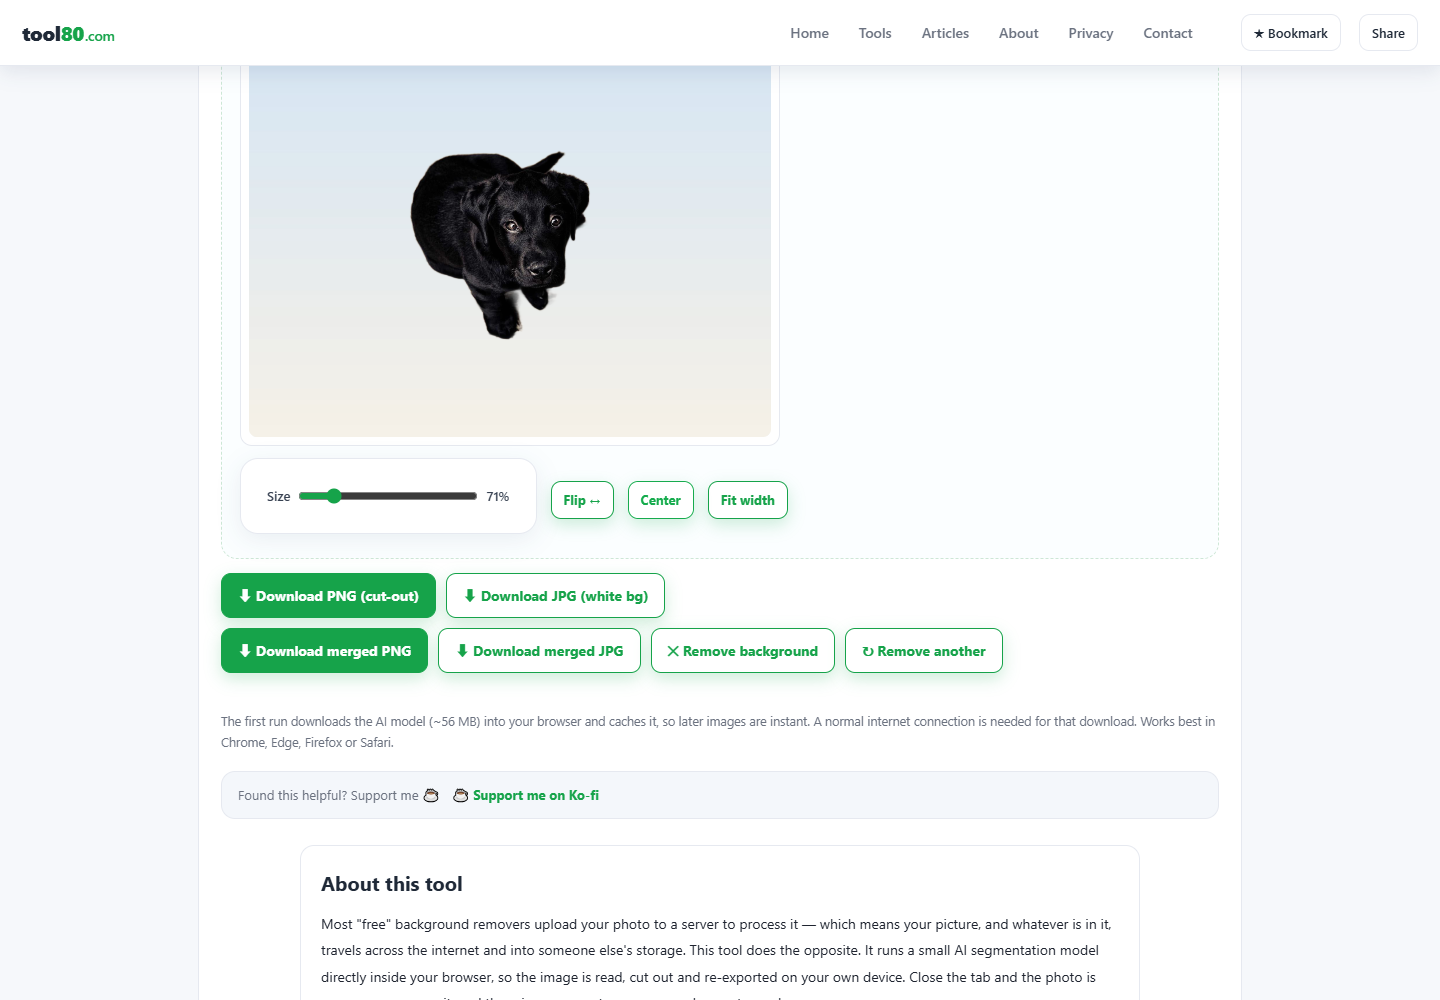
I dragged in a 1280×960 gradient background that time, hit Center, and the subject obediently centered itself. The whole process took no more than a few seconds. After compositing you can download "Download merged PNG" or "Download merged JPG".
If you skip Step 2, only the transparent cutout is kept. To start over, click "Remove another" to clear everything; if you've added a background and want to take it back off, use the "Remove background" button.
A few questions I bet you'll ask
"Is the free version limited by usage count?" There's no monthly usage limit, because the model lives permanently in your browser and processing is inherently private. What's it good for? Product shots, avatars, e-commerce listing images, memes. My own use is giving product photos a uniform background color, so I don't have to open an image editor for every single one.
"Do photos really not get uploaded?" The page's About section specifically covers this: most "free" tools upload your photo to a server for processing, but this tool does the reverse. The site is built on Cloudflare, and the footer reads "Fast and secure worldwide". I'm not here to hype it for them, but the architecture is right there — open your browser's dev-tools network panel and see for yourself: there is no upload request.
Finally, a straight-talk note. This tool isn't magic; give it a bad background and it'll stumble, and you'll need to fix it by hand. But for the everyday need of "I just want the background gone from this photo," it's enough — and unreasonably fast, provided you survive that first 56 MB.