← All articles · Photo editing course · Part 2 of 12 · about 3 min read
Opening files, and the size question that trips everyone up (Part 2)
Two questions cause more damage in image editing than any other: "why is my picture blurry after resizing?" and "why does it look fine on screen but soft in print?" Both are the same underlying confusion — pixels versus physical size. Once that clicks, the rest of this course gets easier.
What you can open without installing anything
The editor reads the formats that normally force you to install software: PSD with layers intact, XCF from GIMP, Sketch, common camera RAW files, PDF pages, SVG, plus the everyday JPG, PNG, WebP, GIF and BMP. Drag the file onto the canvas or use File › Open.
If someone sends you a layered PSD and you do not own Photoshop, this is the whole trick: open it here, edit what you need, and export back to PSD so the handoff survives round-trip.
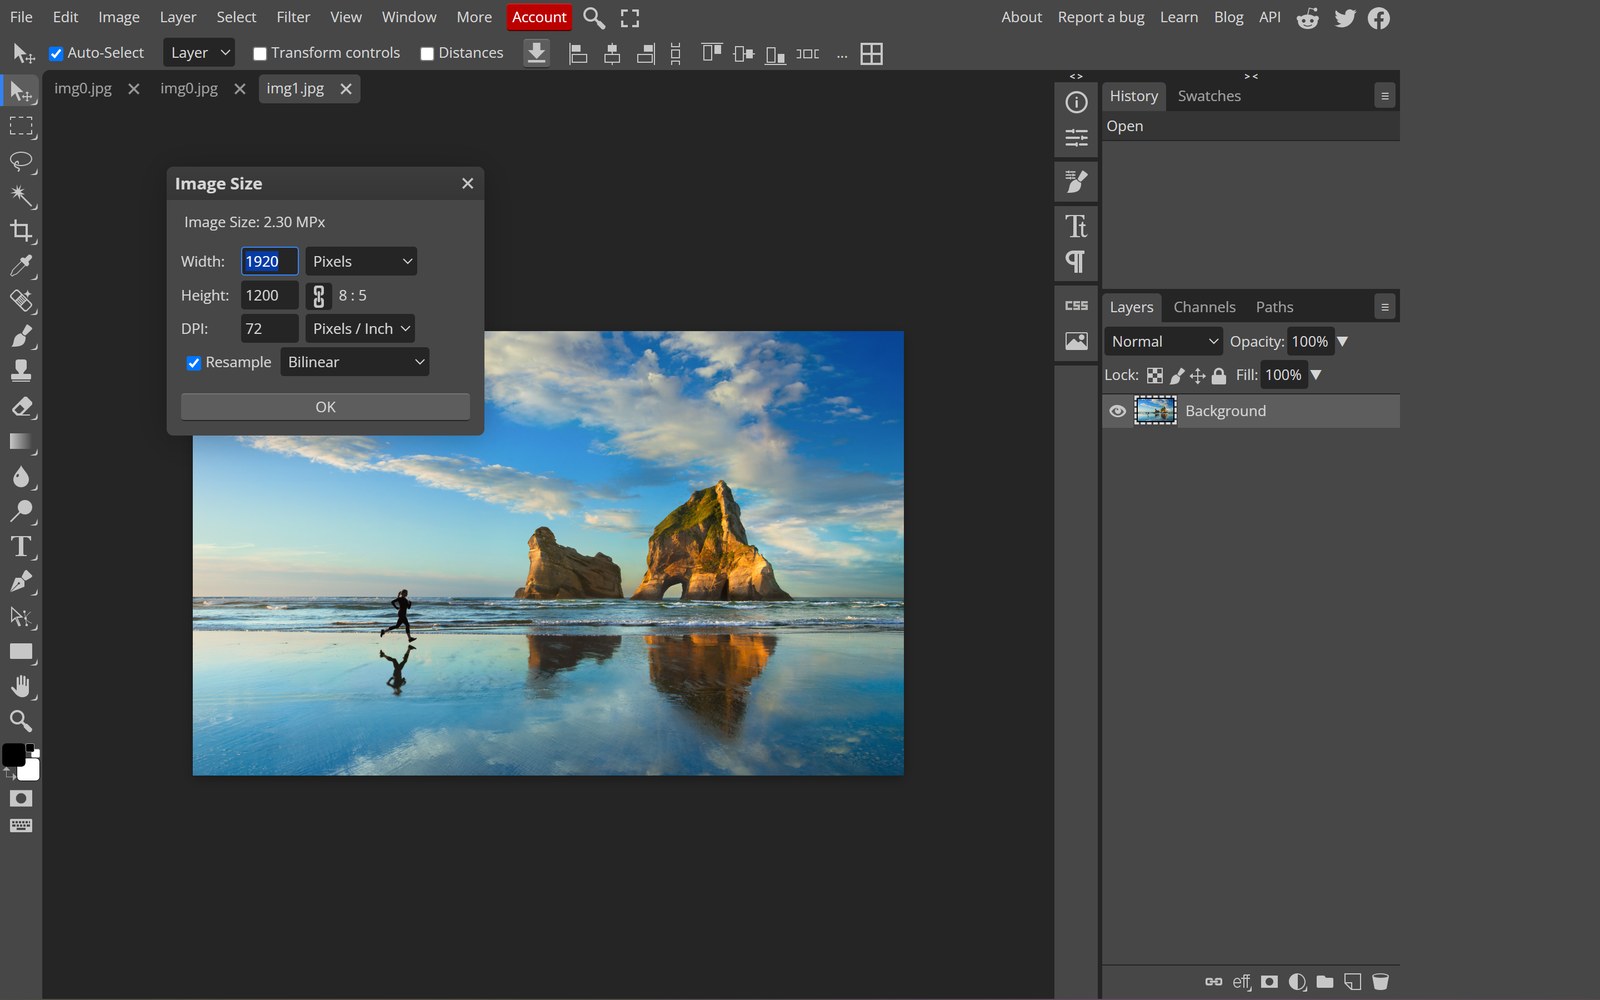
Image size and canvas size are not the same thing
Image › Image Size resamples: it changes how many pixels exist, so a 4000×3000 photo becomes 1600×1200 and the file genuinely gets lighter — and softer. Image › Canvas Size keeps every pixel untouched and only changes the frame around them, adding empty space or cropping the edges.
The practical rule: if you want the picture bigger or smaller as an image, that is Image Size. If you want to add a margin, square it off for social, or give text room to breathe, that is Canvas Size. Using the wrong one is why people "resize" a photo and end up with white borders.
Resolution: the 72 dpi myth and when 300 matters
A pixel has no physical size until you decide how many of them to squeeze into an inch. 72 ppi is a leftover convention from 1980s screens and means nothing today — a 2000-pixel-wide photo is 2000 pixels wide on every monitor ever made. What actually matters is the pixel count relative to where the image will be shown.
For print, the working number is 300 ppi at final physical size: a 6×4 inch print needs roughly 1800×1200 pixels. For the web, pixel width is all that counts — 1600 px for a full-width photo, 800 px for in-article, 400 px for thumbnails. Set 300 ppi only when the file is headed to a printer; it changes no pixels, just the instructions attached to them.
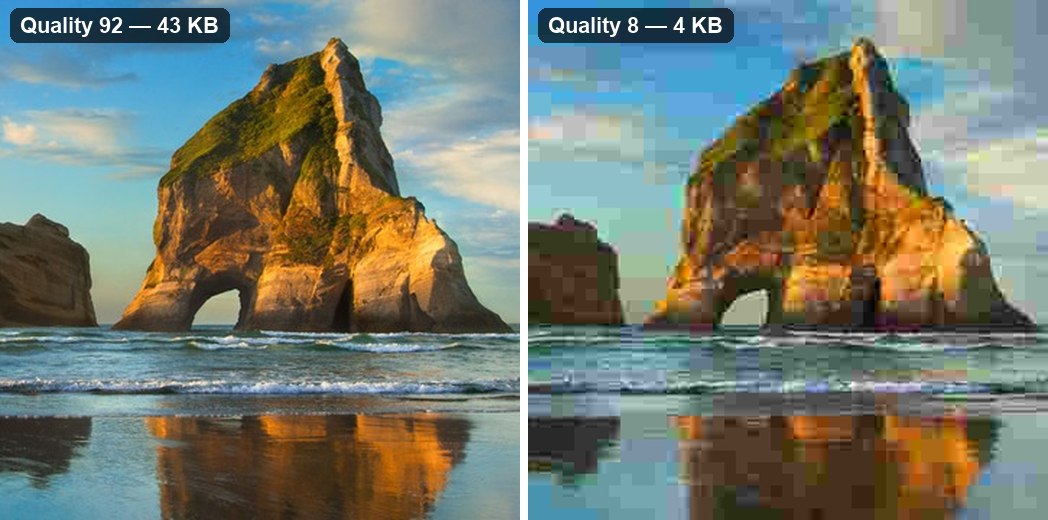
A safe opening workflow
Open the file, then immediately duplicate the background layer (Ctrl+J) so the original pixels survive. Check Image › Image Size to see what you are working with before you crop anything.
Then decide the target: screen or print. If screen, resize once, at the start, to the largest size you will need — do not resize down, edit, and resize up again later. If print, leave the pixels alone entirely and only set the ppi value.
When a file will not open
Three usual causes. It is not what the extension says — a .png that is really a .webp from a chat app; rename rarely helps, convert it first with the image converter. It is a CMYK file from a print house: convert to sRGB before editing. It is too large for browser memory — anything past roughly 80 megapixels will struggle on a phone; downscale it first.
Password-protected PDFs are the fourth: the editor cannot guess a password, so remove the protection in the app that created it.
Tools used in this part
❓ Frequently asked questions
Will layers survive if I save back to PSD?
Yes — PSD export keeps layers, masks, groups and most layer styles. Text layers are exported as text, so they stay editable in Photoshop.
Can I open a single page of a multi-page PDF?
Opening a PDF brings in the pages you choose as layers or separate documents, depending on the import options. For heavy PDF surgery, use the dedicated PDF tools instead.
Should I convert HEIC photos before editing?
Yes. Convert phone HEIC files to JPG first — it avoids colour and orientation surprises and opens faster.