← All articles · Photo editing course · Part 5 of 12 · about 3 min read
Selections that behave: from marquee to refined edges (Part 5)
A selection is just a promise: "everything I do next applies only here". Every cutout, every local colour fix, every background replacement starts with that promise — and a sloppy selection is why so many edits look pasted-on.
Four tools, four jobs
Marquee (M) for rectangles and ellipses — fast, geometric, good for screenshots and product blocks. Lasso (L) for freehand outlines; the polygonal variant clicks point to point and is excellent for straight-edged objects like boxes and furniture. Magic Wand (W) selects by colour similarity, with a tolerance value — perfect for a plain background. Quick Selection brushes over the subject and grows a selection as you go.
You rarely need all four in one edit. Ask what the boundary looks like: straight lines, one flat colour, or an organic shape. That answer picks the tool for you.
Add, subtract, intersect
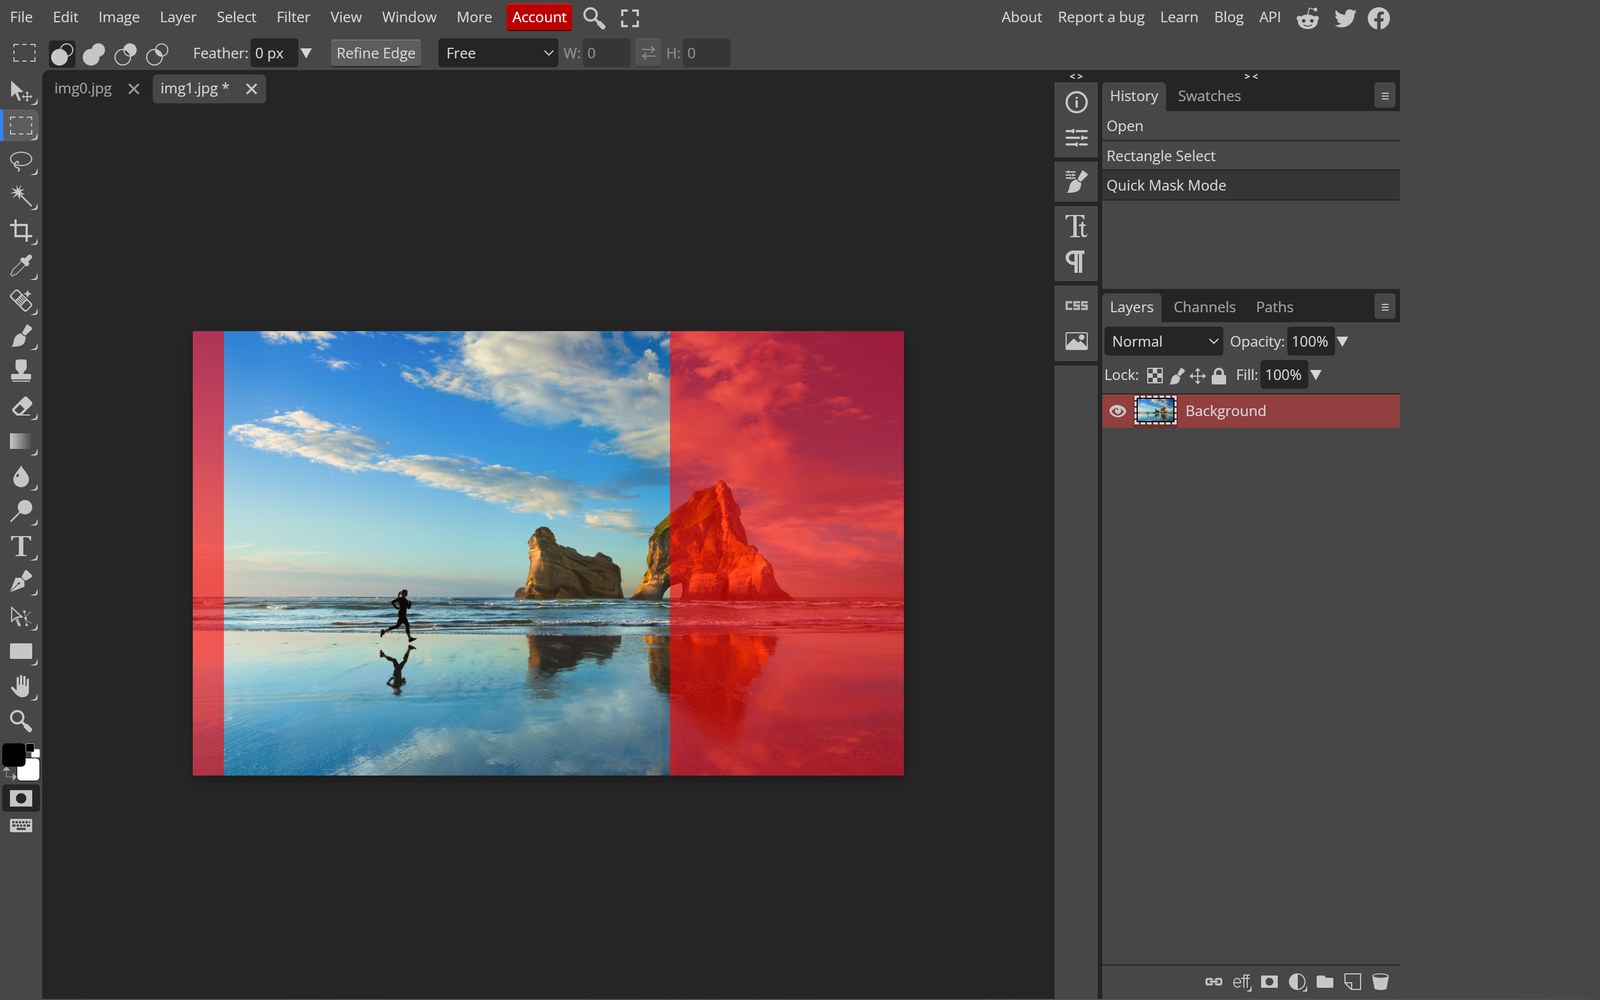
Selections combine. The four small icons in the options bar mean new, add, subtract, intersect — or hold Shift to add, Alt to subtract without leaving the tool. This is how you build a precise selection: rough shape first, then subtract the bits that do not belong.
A worked example: select a white background with the magic wand, then subtract the subject's shadow with the lasso. What remains is exactly the background, and deleting it leaves a shadow-clean cutout.
Refine edge is where quality happens
A raw selection has hard, jagged edges. Select › Select and Mask gives you feather (soften), smooth, contrast, and shift edge (grow or shrink by a pixel or two). For hair and fur, the radius-based refinement plus a light feather does a surprising amount of work.
The professional habit: never cut straight to a hard edge. Give it 1–2 px of feather and a 0.5 px shift inward. The edge stops looking like scissors and starts looking like a photograph.

Save selections you will need again
Turn a selection into a layer mask (the next part covers masks properly) instead of deleting pixels. Masks are editable forever; deletions are not. If you must delete, keep the original layer hidden rather than throwing it away.
When a selection is the wrong approach
If your goal is simply "remove this background", do not hand-select at all — the AI background remover or Select › Subject in the editor will beat ten minutes of lassoing for most photos. Manual selection wins when the boundary is ambiguous: glass, wispy hair against a busy background, or a subject holding something you want to keep.
Tools used in this part
❓ Frequently asked questions
Why does the magic wand select too much?
Tolerance is too high, or Contiguous is off so it grabs similar colours everywhere. Lower the tolerance to around 20–30 and keep Contiguous checked.
How do I select hair cleanly?
Start with Select Subject, then refine with Select and Mask using a small radius. For very fine hair, mask by hand at 200% zoom — it is slow but it is the only method that truly works.
Can I move a selection after making it?
Yes — with a selection tool active, drag inside the selection. To move the pixels instead, use the Move tool (V).