← All articles · Photo editing course · Part 6 of 12 · about 3 min read
Layers and masks: the part that makes editing non-destructive (Part 6)
If you understand layers, you can edit anything. If you do not, every edit feels like walking on ice: one wrong move and the pixels are gone. This part is the mental model that separates "I use an editor" from "I can fix this photo properly".
A layer is a sheet of glass
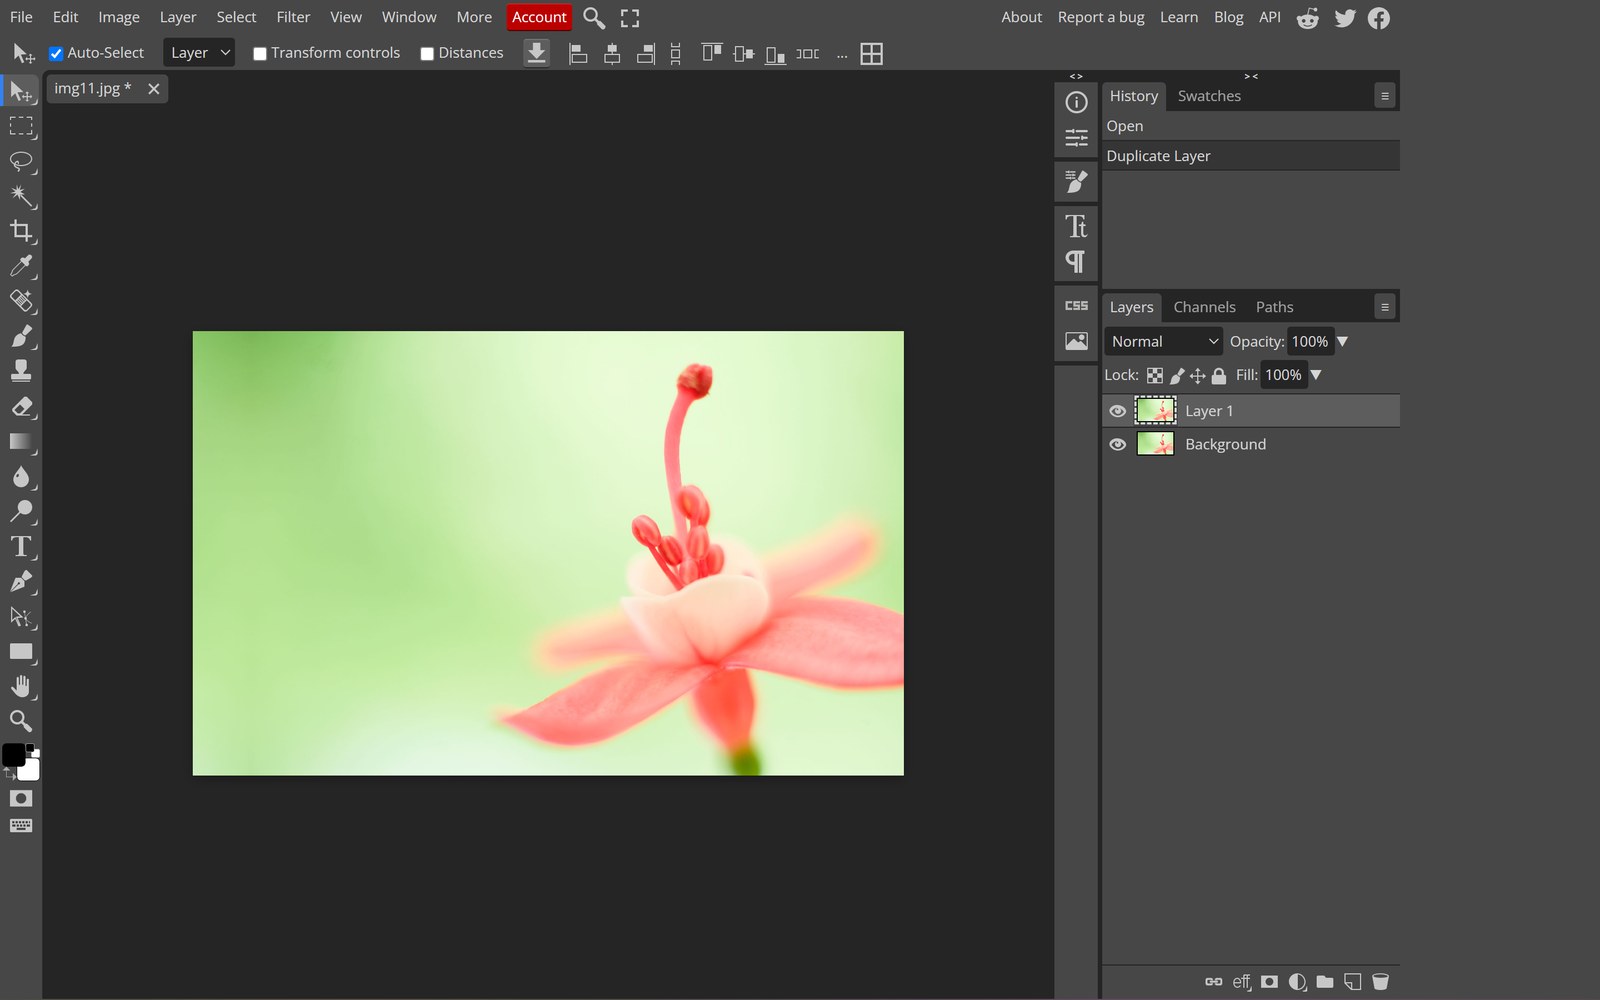
Picture a stack of transparent sheets. Each holds one element — a photo, a text block, a colour fill, an adjustment. You look down through the stack; what you see is the composite. Reorder the sheets and the result changes. Change a sheet's opacity and it fades. That is the entire concept, and the Layers panel is just that stack, drawn as a list.
The topmost visible, opaque layer wins. When something "won't show up", it is almost always underneath an opaque layer — or the wrong layer is selected and you are painting somewhere you cannot see.
Masks are the real superpower
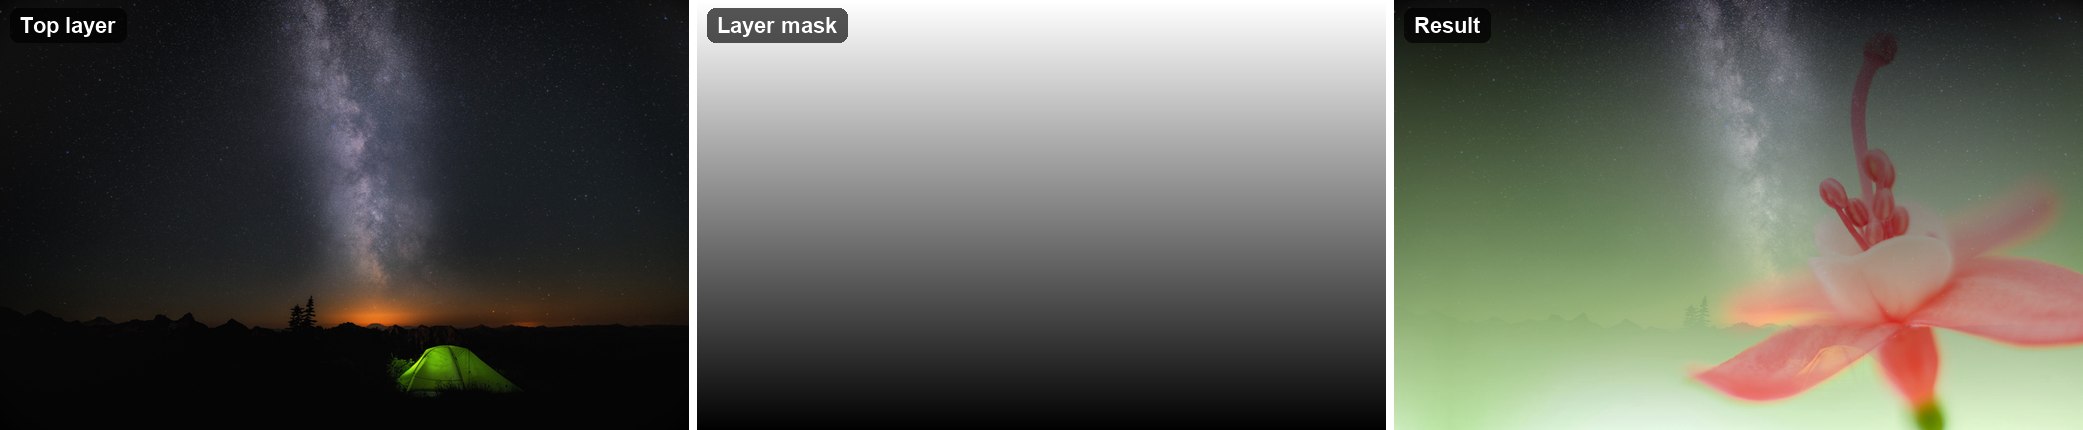
A layer mask is a grayscale map attached to a layer: white shows, black hides, grey is partially visible. Select the mask thumbnail, paint with a black brush, and that part of the layer disappears — without a single pixel being destroyed. Paint white and it comes back.
Compare that with the eraser: erase, save, close, and the pixels are gone forever. The mask is reversible, stackable and refinable. The rule I would tattoo on every beginner: hide with a mask, never with an eraser.
Blend modes in plain English
Blend modes decide how a layer interacts with what is beneath it. Three carry most of the load. Multiply darkens — good for shadows, texture overlays and scanning-line effects. Screen lightens — good for glows, light leaks and fog. Overlay boosts contrast and saturation — good for adding punch without a filter.
If you are adding a texture, start at Overlay with 20–30% opacity and adjust. It is almost always the answer, and it rarely looks artificial at low strength.
Clipping masks: apply an effect to one layer only
An adjustment layer normally affects everything below it. Hold Alt and click the line between the adjustment and the layer above, and it becomes a clipping mask — now it affects only that one layer. This is how you brighten a face without brightening the wall behind it, in one click, with no selection at all.
Smart objects: resize without regret
Right-click a layer and choose Convert to Smart Object. Now transforms are stored as instructions rather than applied to pixels, so you can scale down and back up as many times as you like with no cumulative softness. Logos, watermarks and anything you might resize belong in smart objects.
Name your layers, too. "Layer 14 copy 3" tells you nothing at 2 a.m.; "shadow" and "retouch-base" tell you everything.
Tools used in this part
❓ Frequently asked questions
What is the difference between a mask and an eraser?
A mask hides pixels reversibly; an eraser deletes them permanently. Masks can be refined later, erased areas cannot be recovered after saving.
How do I merge layers without losing flexibility?
Select the layers and press Ctrl+E, or right-click › Merge Layers. Better: keep them separate and group them (Ctrl+G) until the file is final.
Why is my text layer not editable any more?
It was probably rasterised or opened from a flattened format like JPG. Keep a PSD copy if the text needs to stay editable.