← All articles · Photo editing course · Part 7 of 12 · about 3 min read
Cutting out a subject: from auto-select to a believable composite (Part 7)
A cutout fails for three reasons, in this order: the edge is too hard, the light does not match, and the missing shadow gives it away. Fix all three and nobody will ask whether it was Photoshopped.
Step 1: isolate with Select Subject
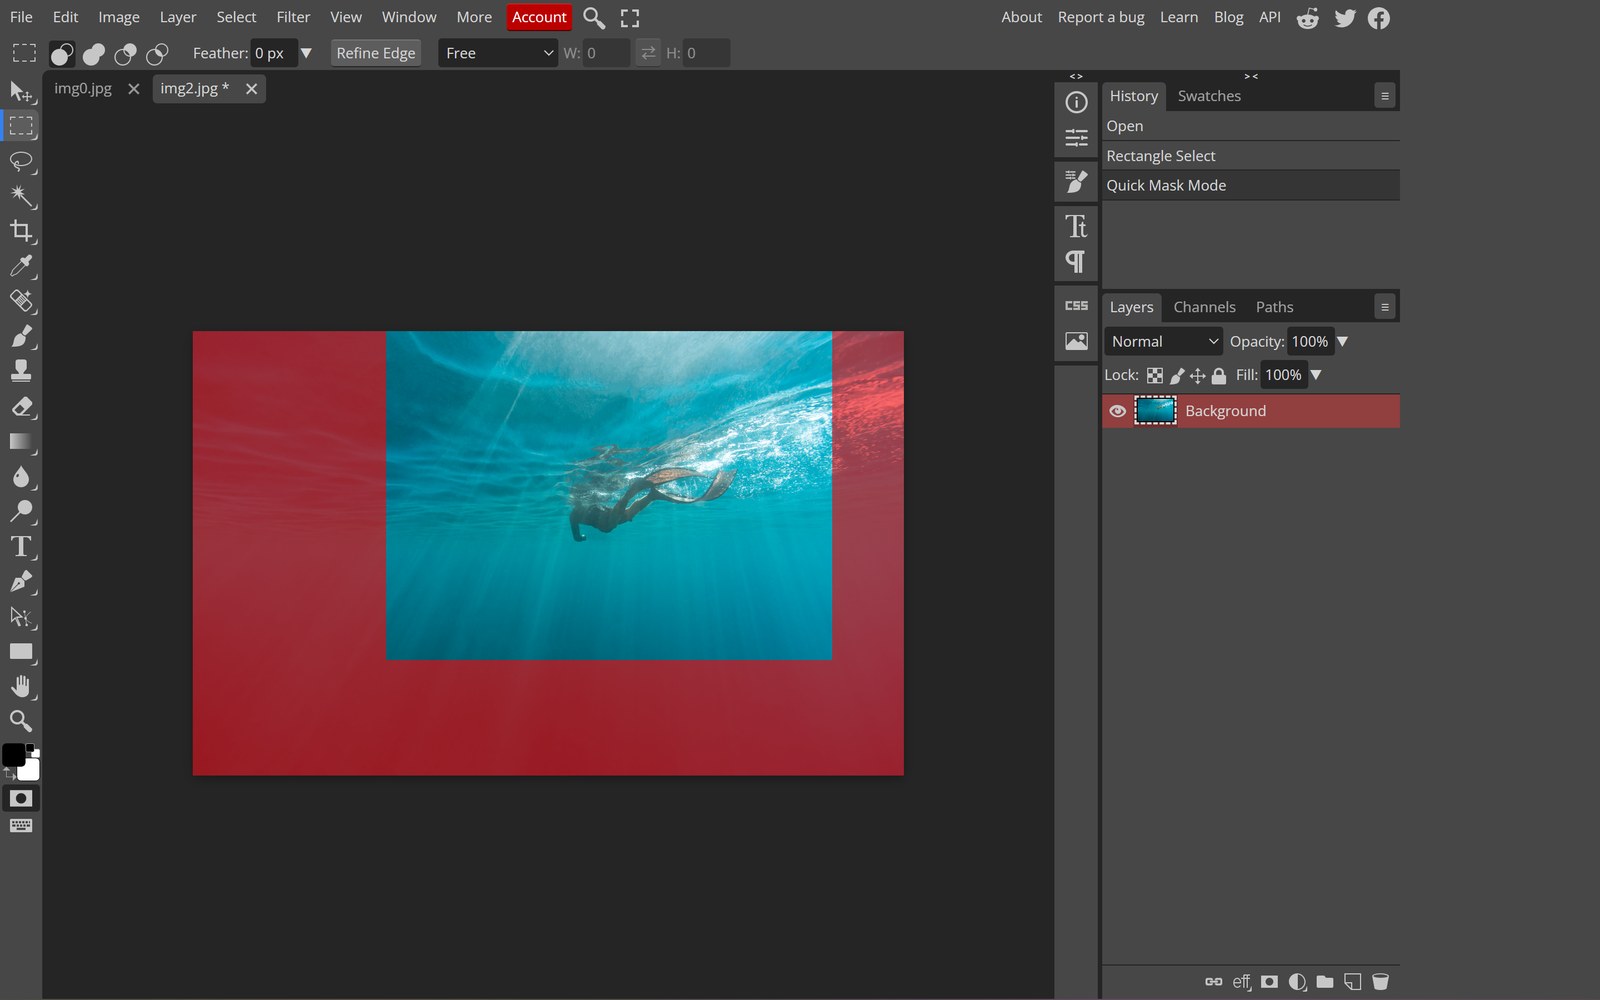
Open the photo and duplicate the layer. Choose Select › Subject — the editor analyses the image and returns a selection around the main subject. For a single person or product on a distinct background, this is accurate enough to use immediately about four times out of five.
For the fifth time, do not fight it: take the selection into Select and Mask, add 1–2 px feather, and clean the obvious errors with the brush inside that dialog. Two minutes of brushing on the mask beats twenty minutes of lasso.
Step 2: mask, do not delete
Click the Add Layer Mask button at the bottom of the Layers panel. The background is now hidden by a mask you can refine at any time. If you make a mistake later, paint white on the mask to bring the original pixels back.
Then place your new background on a layer below the subject. Both remain editable, which is the entire reason to work this way.
Step 3: match the light
Look at where the light came from in the original. A subject lit from the left placed on a background lit from the right looks wrong no matter how clean the edge is. Adjust the background layer's brightness and colour temperature to agree with the subject, not the other way round.
A quick believable trick: sample a mid-tone from the new background, paint it on a low-opacity layer over the subject's edge in Multiply mode. That "colour bleed" is what real lenses do, and it sells the composite.
Step 4: add the shadow back
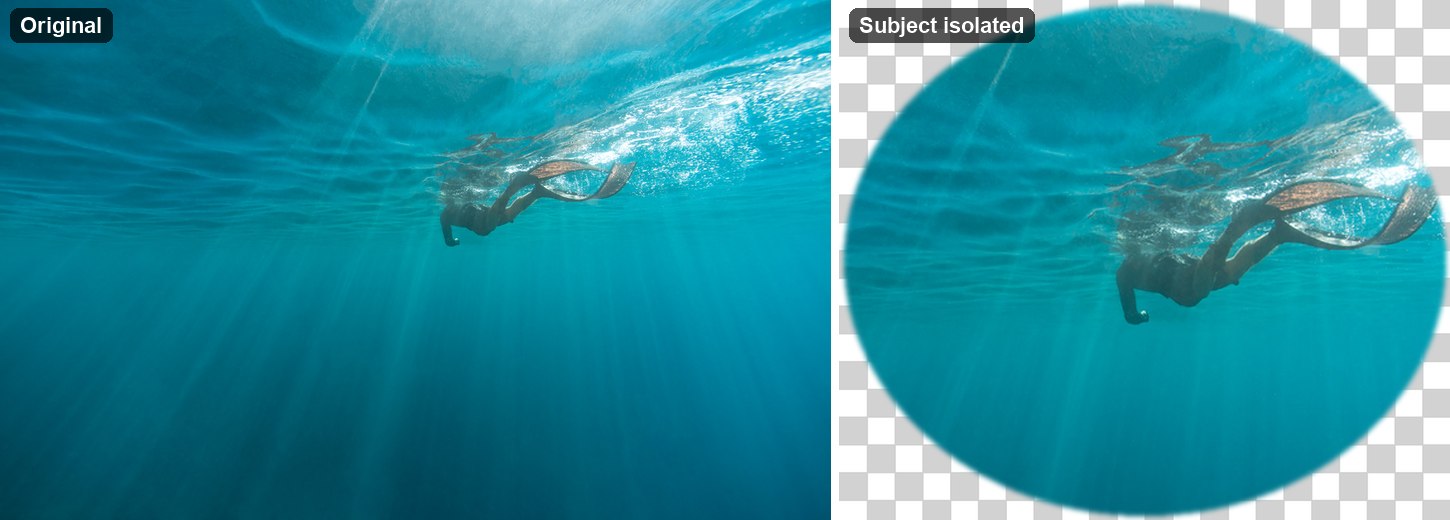
A cutout with no shadow floats. Create a new layer under the subject, paint a soft black ellipse where the subject meets the ground, then blur it (Filter › Blur › Gaussian Blur, 10–20 px) and drop opacity to 25–40%. The shadow's direction must match the light.
For product shots on white, a subtle contact shadow at 10–15% is enough. Anything heavier reads as two objects stacked.
When the one-click tool is the better answer
If all you need is "remove the background", skip the editor. The AI background remover does it in one pass with no selection at all, and for e-commerce and profile photos it is faster and usually cleaner than manual work. Come back to the editor when you need to composite, relight, or keep a shadow.
Tools used in this part
❓ Frequently asked questions
Does Select Subject work on animals and products?
Yes, though accuracy drops with cluttered backgrounds. Products on white are near-perfect; a cat in tall grass needs manual refinement.
Why is there a white halo around my cutout?
The selection included a rim of the old background. Shrink the mask edge by 1–2 px in Select and Mask, or paint the mask inward at high zoom.
Can I keep the original shadow when replacing a background?
Sometimes — include the shadow in the selection, then set the background layer to match. It is usually faster to rebuild the shadow than to preserve it.