← All articles · Photo editing course · Part 8 of 12 · about 3 min read
Healing and cleanup: removing what should not be there (Part 8)
Retouching is mostly subtraction: a blemish, a cable, a stray bin bag in the corner. The tools are few, but each behaves differently, and using the wrong one produces the tell-tale smear everyone recognises.
Spot healing: the one-click default
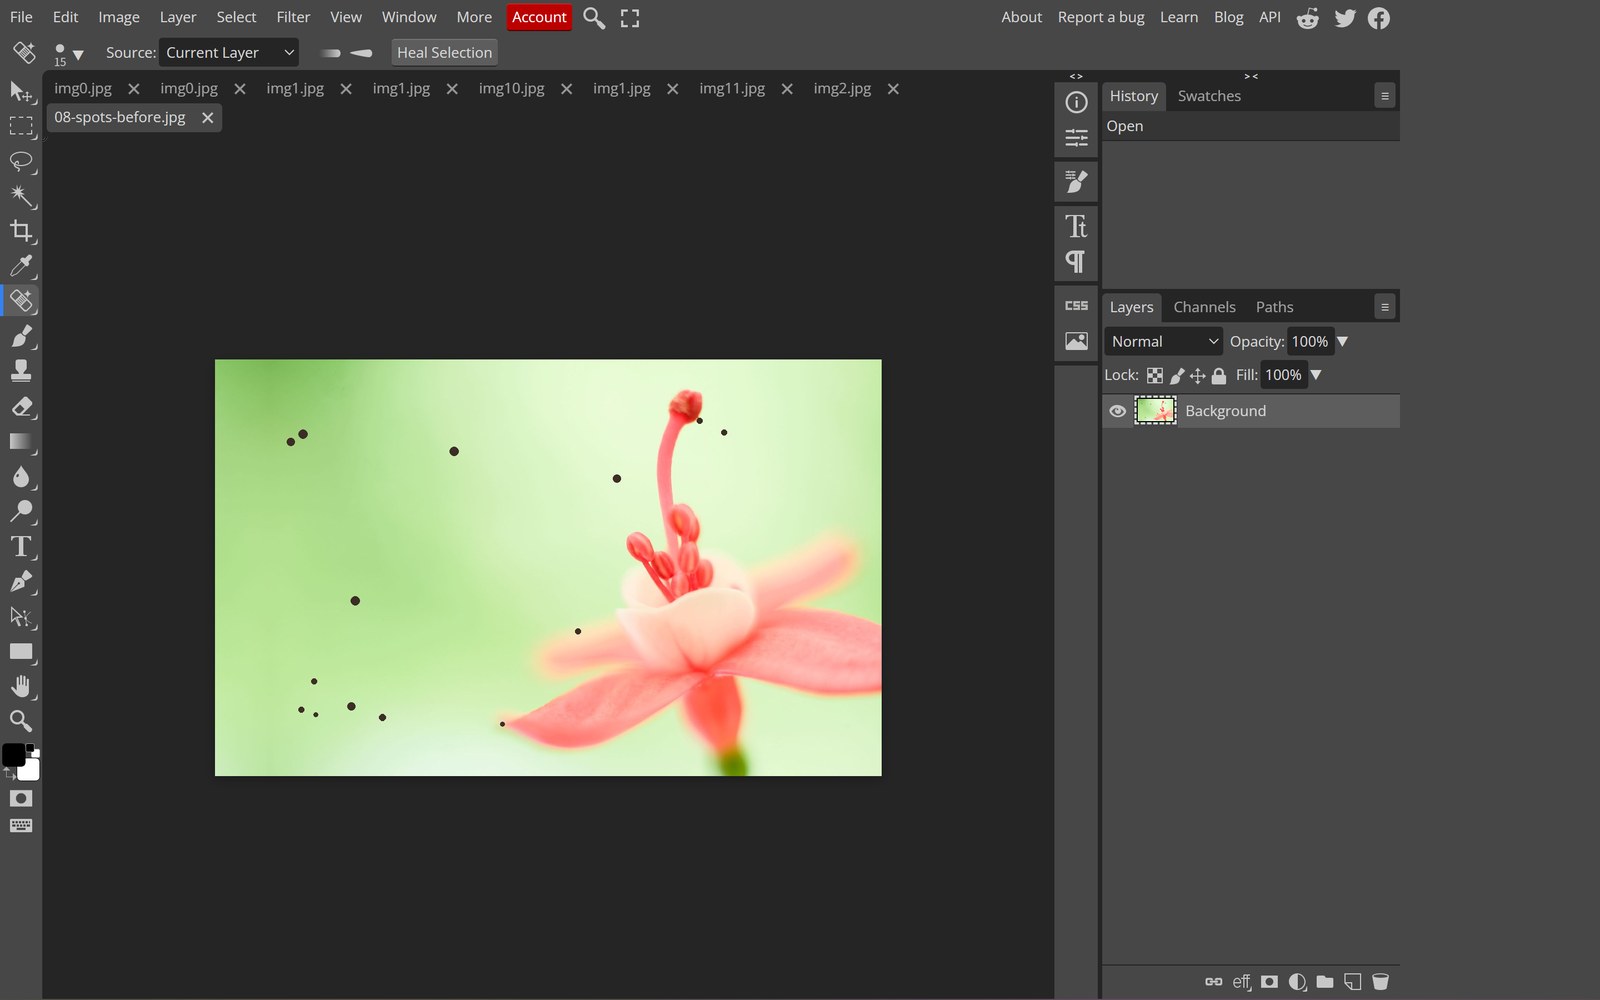
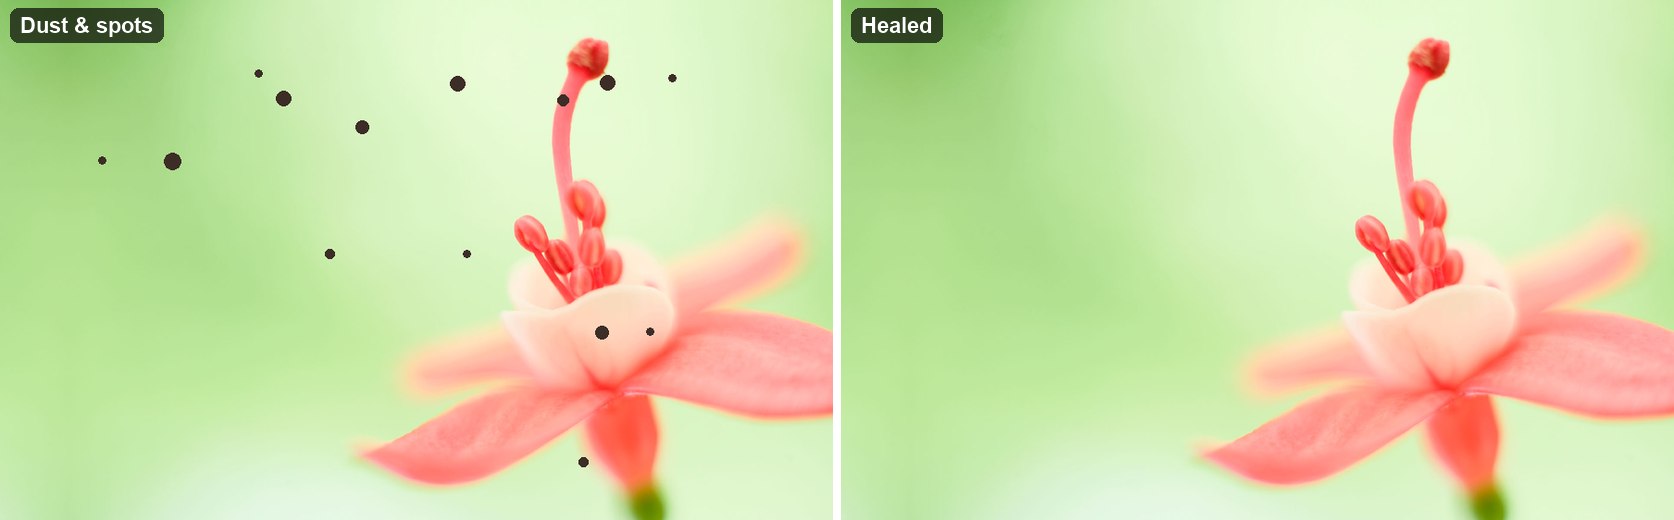
Spot Healing Brush (J) samples around the area you paint and blends automatically. Set the brush slightly larger than the blemish, click once. It works brilliantly on skin, dust on a product, and small distractions on plain backgrounds.
It fails on patterned or textured surfaces — brickwork, fabric folds, foliage — because it averages and the pattern stops matching. That is the smear you have seen in badly retouched photos.
Healing brush: when you must choose the source
Healing Brush asks you to Alt-click a clean area first, then paint. It matches the texture of your sample and the lighting of the target, which is the right tool for a blemish on textured skin or a scratch on a wooden table. Sample often; do not drag one sample across a whole area.
Clone stamp: exact copy, exact responsibility
Clone Stamp (S) copies pixels verbatim — texture, colour, imperfections. That fidelity is why it is the tool for removing a logo from a printed surface or extending a repeated pattern, and why it is the wrong tool for skin: cloned skin looks cloned.
Keep Aligned checked when repairing a continuous area, uncheck it when you need to re-sample the same clean patch repeatedly. Lower the opacity to 60–70% for edges so cloned areas blend rather than stamp.
Patch tool and big removals
The Patch tool works backwards: draw around the thing you want gone, then drag the selection onto clean area. It is faster than cloning for large, regular backgrounds like walls, sky and sand.
For really large objects — a car, a person, a power line across the sky — none of these tools are ideal. Select the area, then use content-aware fill if available, or clone in bands from the nearest clean region and blend with a soft brush. Wide removals always need a final blending pass at 200% zoom.
The finishing pass no one talks about
After any removal, zoom to 100% and look for repeating patterns, soft patches and mismatched grain. A tiny amount of noise added back (Filter › Noise › Add Noise, 1–2%) makes a healed area sit naturally in a grainy photo. Imperfection is what makes a retouch invisible.
Tools used in this part
❓ Frequently asked questions
Healing brush or clone stamp for skin?
Healing. Clone stamp copies texture verbatim, which is exactly what skin must not look like. Use clone only for hard edges and patterns.
Why does spot healing leave a blurry patch?
The surrounding area is textured or has a gradient. Switch to the healing brush with a manually chosen source, or patch small sections instead of one large stroke.
Can I remove a watermark or logo from someone else's photo?
Technically the tools can, but removing another creator's watermark is a copyright problem, not a technical one. Do not do it.