← All articles · Photo editing course · Part 9 of 12 · about 3 min read
Portrait retouching: skin, eyes and teeth without the plastic look (Part 9)
The most common retouching failure is not a technical one — it is doing too much. Skin with no pores reads as fake instantly, and once a viewer notices the retouch they stop seeing the person. The goal is "they looked great that day", not "this was processed".
Fix the photo before you fix the face
Order matters. Crop and straighten first, then correct exposure and white balance (Part 4), and only then retouch. Retouching a badly colour-balanced photo means redoing every skin decision later.
Work on a duplicate layer at all times. Every stage below stays on its own layer so you can dial it back by changing one opacity slider.
Skin: smooth the tone, keep the texture
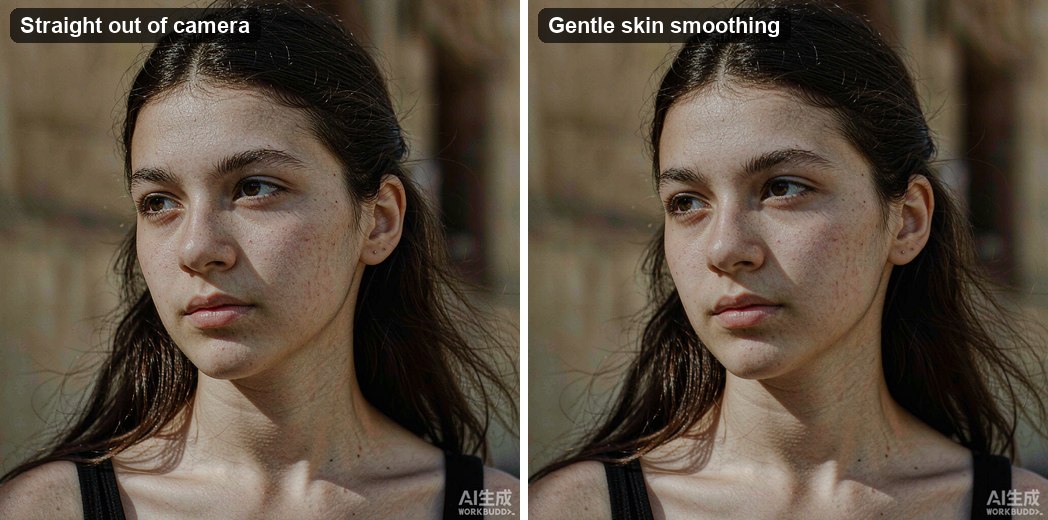
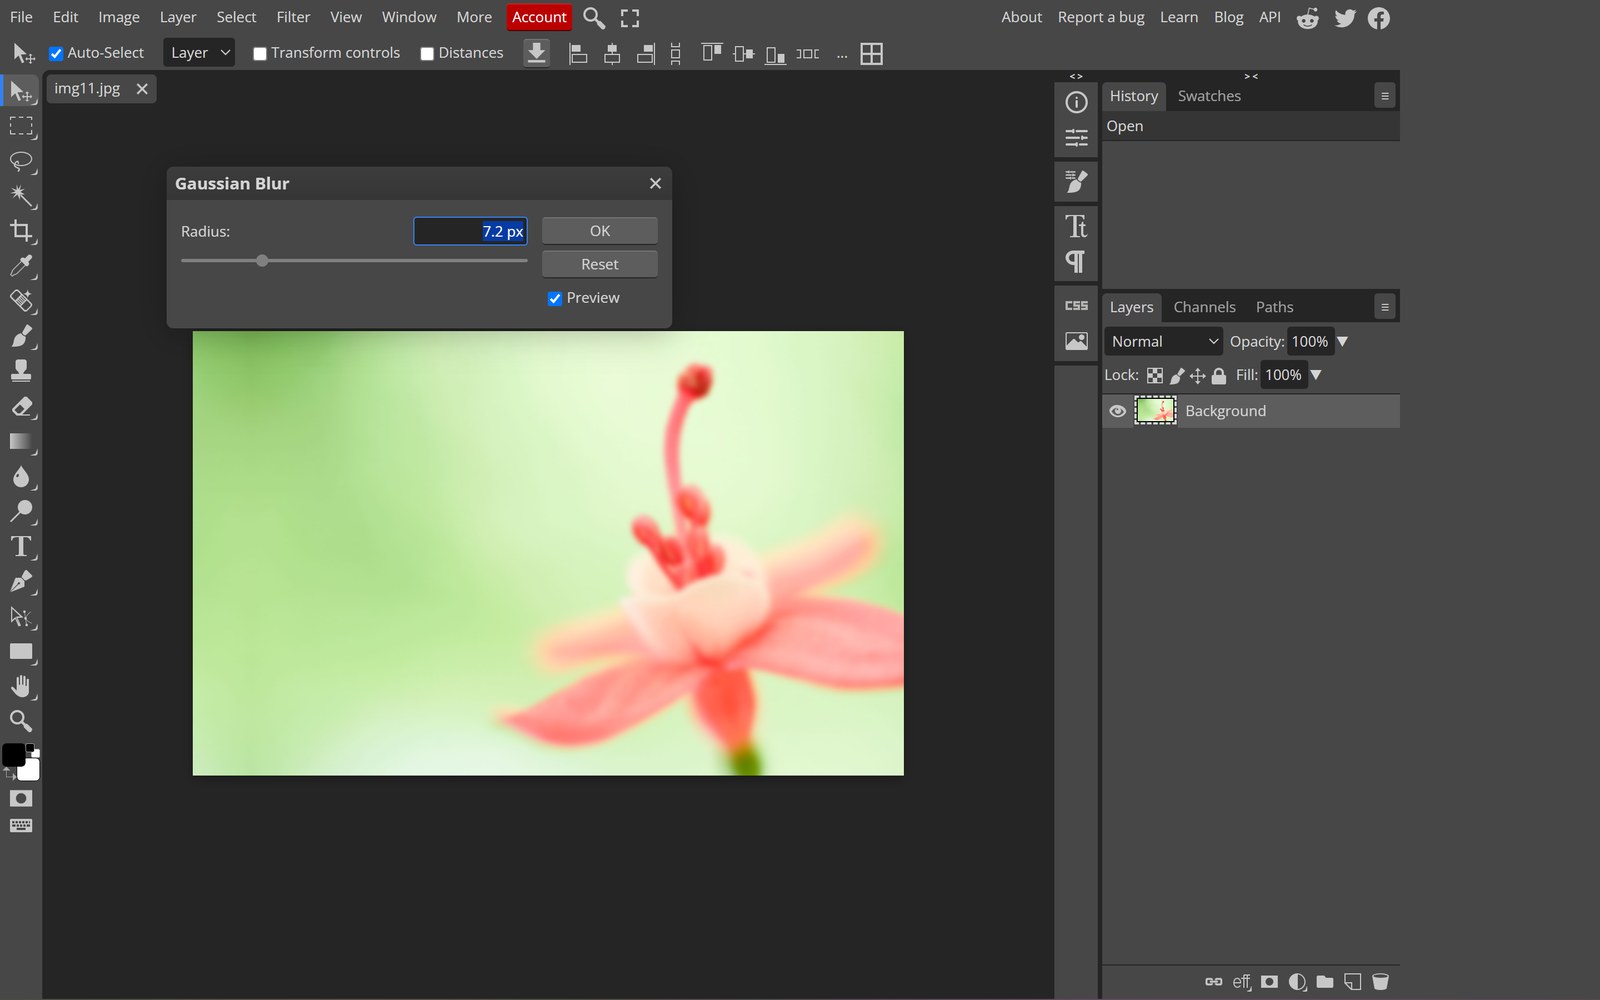
Duplicate the layer, apply Filter › Blur › Gaussian Blur at 4–8 px, then add a mask and paint black over everything except the skin areas with uneven tone — cheeks, forehead, chin. Set the layer to about 30% opacity. You have smoothed tone while the original texture shows through from beneath.
Then remove actual blemishes on a separate layer with the spot healing brush. Temporary spots come out; freckles, moles and scars are part of a face and should stay unless the person asks otherwise.
Eyes: contrast, not brightness
Do not paint the whites of the eyes pure white — that is the fastest route to uncanny. Instead, select the iris roughly, add a Curves adjustment clipped to that area, and add a small S-curve. Then a separate, very slight brightening on the whites (5–8%).
If there are catchlights, leave them alone; they are doing more for the portrait than any retouch will. A tiny sharpen on the iris (Unsharp Mask, 40%, radius 0.5) finishes it.
Teeth: kill the yellow, keep the shape
Select the teeth, then use Hue/Saturation and drop the yellow saturation to around -40, raising lightness slightly. That is all. Whitening beyond natural reads as a denture, and reshaping teeth is a decision for the person, not the retoucher.
Know when to stop
Toggle all retouch layers off and on. If the "after" looks like a different person, you have gone too far. A useful test: cover the eyes and ask whether you would recognise the subject in a crowd — if not, back everything off by half.
For high-volume work — a whole shoot, dozens of product shots with a model — build one retouch, save it, and apply the same layer stack to the rest rather than re-deciding each time. Consistency beats per-image perfection.
Tools used in this part
❓ Frequently asked questions
How much skin smoothing is too much?
When pores and fine texture disappear. If the skin looks like plastic at 100% zoom, reduce the blur layer opacity or restore more of the mask.
What is frequency separation?
A technique that splits an image into colour and texture layers so you can smooth tone without touching detail. It is the professional standard, but the masked-blur method above gets 90% of the way with far less setup.
Should I retouch every photo in a set?
No. Retouch the ones that will be published large. For thumbnails and small cards, a global exposure and colour pass is enough.